How to Make Your iPhone Save Photos as JPG Instead of HEIC
Your iPhone saves photos as HEIC by default, and many apps, websites and Android phones can't open that format. The good news: you can change it in under a minute so new photos are saved as JPG. And the HEIC photos you already have convert for free, without uploading anything to a server.
1. Why your iPhone saves HEIC
Since iOS 11, Apple uses the HEIC (HEIF) format by default because it takes up roughly half the space of a JPG at similar quality. That saving is real when you have thousands of photos, but it comes at a cost: compatibility. Many websites, older programs and some phones can't open it or won't accept it as an upload. For the full explanation, see Why Apple uses HEIC instead of JPG.
2. Switch the camera to save JPG
This is a system setting and only affects photos you take from now on:
- Open Settings and go to Camera.
- Tap Formats.
- Under “Camera Capture”, choose Most Compatible instead of “High Efficiency”.
With “Most Compatible”, new photos are saved as JPG and new videos as H.264. “High Efficiency” uses HEIF and HEVC, which take less space. You can switch back whenever you like. Keep in mind JPGs take more space than HEIC: it's worth it if you share a lot outside the Apple ecosystem, but it can matter if your storage is tight.
3. Copy photos to a PC without getting HEIC
Even if you keep HEIC on the phone, you can avoid problems when copying photos to a Windows PC or Mac. In Settings > Photos, scroll to the bottom, find “Transfer to Mac or PC” and choose Automatic: the iPhone converts photos to JPG when you import them over a USB cable. “Keep Originals” copies them as HEIC.
4. What happens when you open HEIC on Windows or Android
If you already have HEIC photos and the person receiving them can't open them, these are the usual situations:
- Windows 10 and 11: need the “HEIF Image Extensions” add-on from the Microsoft Store to show HEIC in File Explorer and Photos. Some PCs also need the HEVC video extension, which can be paid; Microsoft also publishes a free “from Device Manufacturer” version.
- Android: from Android 10 the system supports HEIC normally. Older versions may not open it.
- Websites and forms: many reject HEIC with errors like “unsupported format”. The quickest fix is to upload a JPG copy.
5. Convert the HEIC photos you already have
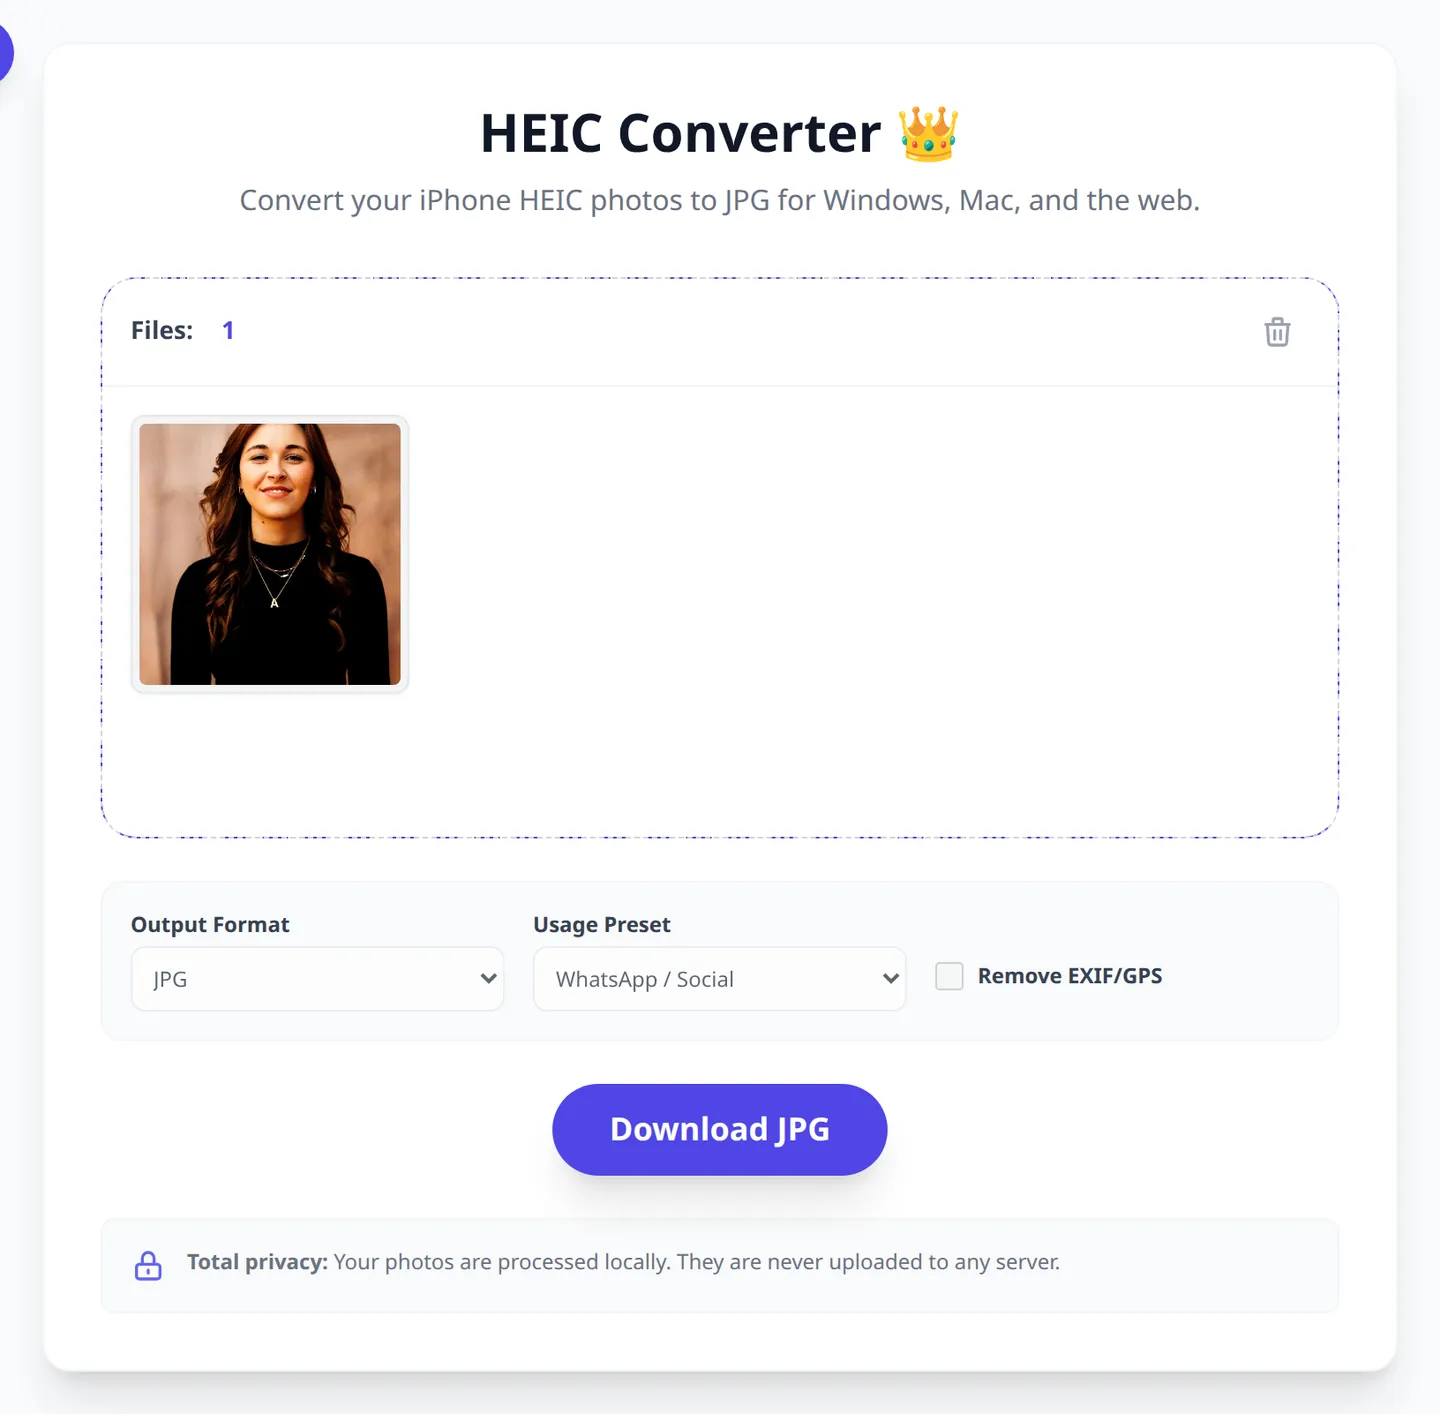
Changing the setting doesn't touch old photos. To convert them, use the OmniPixy HEIC to JPG converter:
- Open the converter and drag in your HEIC photos (you can drop several at once).
- Choose the output JPG quality.
- Download the JPGs one by one or as a ZIP.
Everything happens in your browser, so your photos are never uploaded. If you'd rather do it on a computer, see how to convert HEIC to JPG on your PC.
6. When to keep HEIC and when to switch to JPG
There's no single best option. A simple rule:
- Keep “High Efficiency” if you only use Apple devices and storage is tight.
- Switch to “Most Compatible” if you share photos with Windows or Android users, upload to websites, or use software that doesn't support HEIC.
- Mixed: keep HEIC on the phone and set “Transfer to Mac or PC > Automatic” to get JPG when you import.
The full comparison is in HEIC vs JPG.
Convert your HEIC photos to JPG now
No sign-up and no uploads: everything happens in your browser.
Open the HEIC ConverterFrequently Asked Questions (FAQ)
Does switching to “Most Compatible” convert my old photos?
No. The setting only affects new photos. Photos already in HEIC can be converted with a tool like the OmniPixy HEIC converter.
Do I lose quality by saving as JPG?
Camera JPGs look very good for everyday use, but they take more space than HEIC at similar quality.
Can I go back to HEIC later?
Yes. Go back to Settings > Camera > Formats and choose “High Efficiency”. Photos you already took as JPG stay as they are.
Do videos change too?
Yes. The setting changes the codec for both photos and video (HEIF/HEVC to JPEG/H.264), so new videos will also take more space.
Can Windows open HEIC files?
Yes, but it needs the HEIF Image Extensions add-on from the Microsoft Store. Without it, File Explorer and Photos won't show them.
Conclusion
If you share photos outside the Apple world, switching the camera to “Most Compatible” saves you conversions. And for the HEIC photos you already have, the OmniPixy HEIC converter turns them into JPG in your browser without uploading them anywhere.